| Info |
|---|
This document outlines how to make your UE Application able to receive inputs from mobile devices. In order to achieve your mobile configuration, it will require modifications to both your Control Panel Config and Unreal Engine (UE) Project. |
Control Panel Config
In order to receive touch commands on Mobile devices, enable ‘fakeMouseWithTouches’ in your Config from your Control Panel.
These steps outlined below:
Sign in to your Control Panel (Eagle 3D Streaming | Control Panel).
Go to the ‘CONFIG SELECTION’ and select your targeted config through the dropdown menu.
After the config is selected, click ‘Edit’.
When the config dialog box pops up, select ‘Mouse’.
Click on ‘fakeMouseWithTouches’ so that there is a checkmark inside the checkmark box (shown below).
Click ‘Save’ and close Config dialog box.
Unreal Engine (UE) Project
Unreal Project Setup
| Tip |
|---|
This Guide shows how to setup project for Mobile and Desktop Devices both while using Eagle Pixel Streaming. |
Creating Cursor UMG
Create Widget Blurprint
Add to the Canvas with small size as a cursor (example 20×20)
Set the image Alpha to Zero.
This will act as invisible Cursor and it will be hidden behind the Browser Cursor during Pixel Streaming.
5. Go to
| Tip |
|---|
Project Settings ->Engine->User Interface. Set the created Cursor Widget under Software cursors. |
6. Go to
| Tip |
|---|
Project Settings ->Plugins->PixelStreaming . Set Pisel Streamer Default Cursor Class Name to DefaultCursor |
7. In Level Blueprint (or as per project), set the Show Mouse Cursor in Player Controller to TRUE.
Touch Interface Setup (Optional)
This section is optional and only required if you would like to enable joystick controls within your application for mobile devices
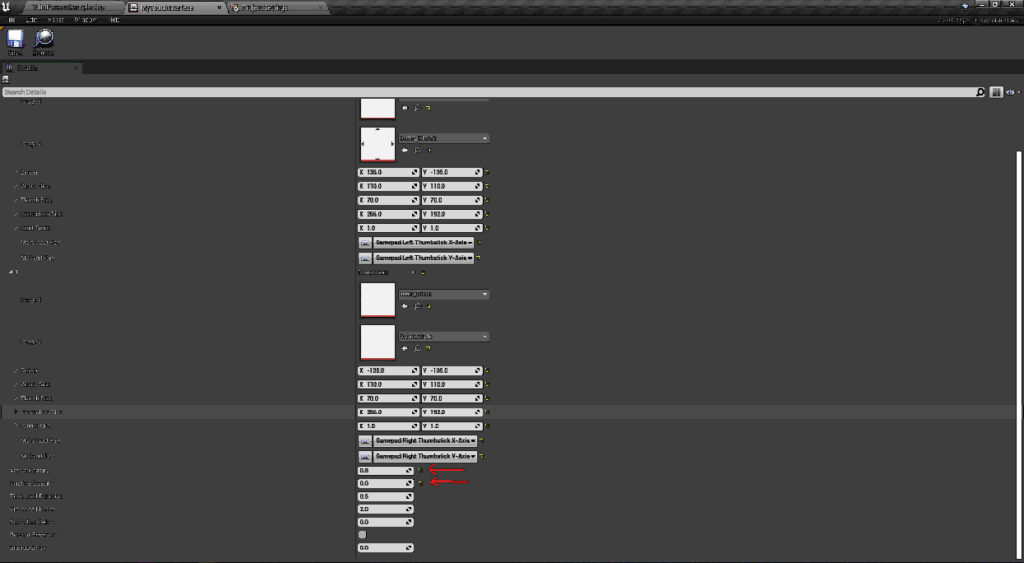
Create TouchInterface (or Copy from the Engine).
In TouchInterface, set
| Info |
|---|
Actice Opacity = 0.8 |
Go to
| Tip |
|---|
ProjectSettings->Engine->Inputs. Set the created Interface under Default Touch Interface. |
Set Always Show Touch Interface to True (Checked).
Setting Inputs
| Tip |
|---|
Go to Project Settings-> Inputs, set as shown in following image. |
| Info |
|---|
Everything done! |
| Tip |
|---|
You an get the source code of the stuff showed in tutorial from this doc: |


